 Garden Surveyor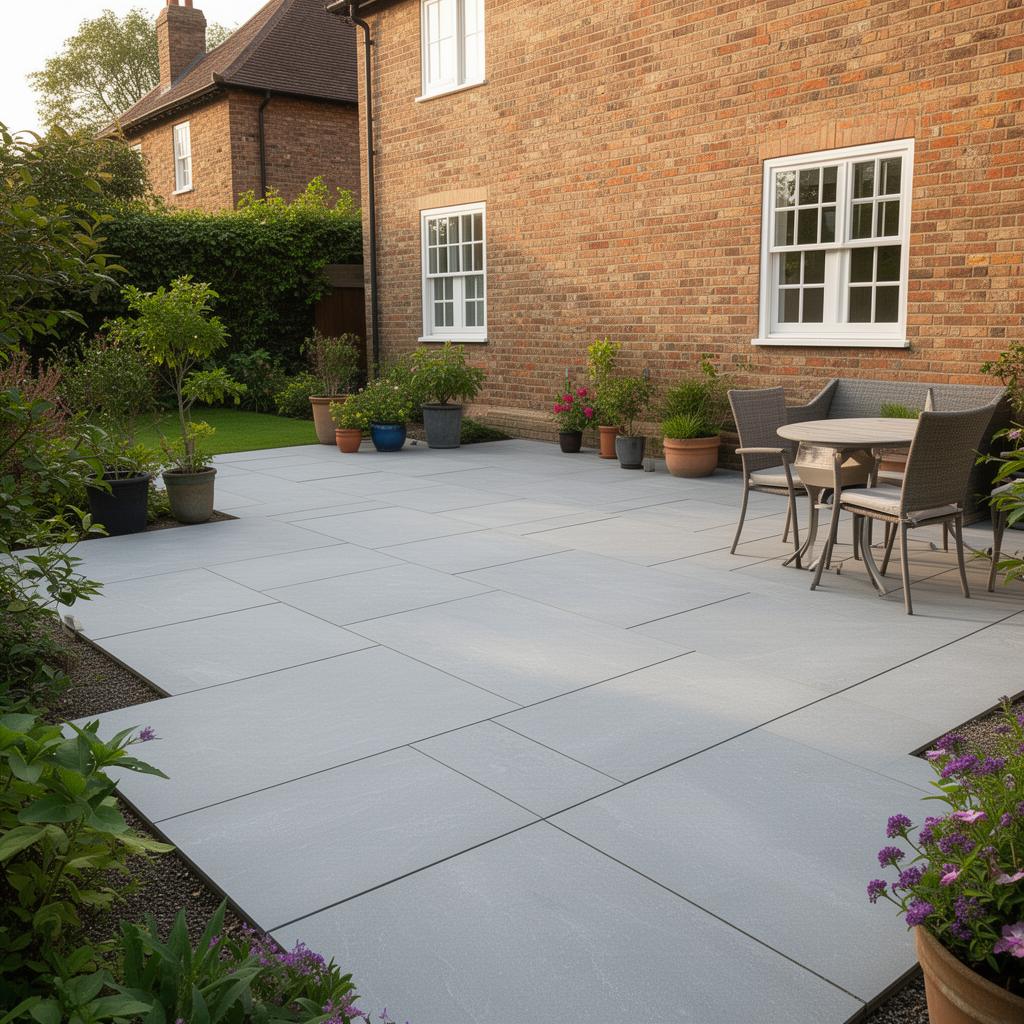
Difficulty
Intermediate DIY — methodical work, no specialist skills, but heavy and time-consuming.
Time
A small 10–20 m² patio: one to two weekends, plus curing time.
Cost
DIY materials ~£40–£90/m²; professionally laid ~£80–£150/m².
Laying a patio: the quick version
A patio that stays flat and drains for decades comes down to four things: a firm, well-compacted sub-base; slabs laid on a full bed rather than spot dabs; an even drainage fall away from the house; and clean, well-filled joints. Get those right and almost any slab will perform. Get the dig or the bed wrong and even the best porcelain will rock, crack and puddle. This guide walks through every stage — setting out, fall, excavation, sub-base, bedding, laying and pointing — and the planner above turns your measurements into quantities you can order or quote from.
Choosing your patio slabs
The slab you pick changes the cost, the bedding, the fall and the cutting. Porcelain and natural stone need a full wet mortar bed; concrete can sit on mortar or a screeded sharp-sand bed. Smooth slabs need a slightly steeper fall to shed water. Compare the main UK patio materials below, then see the quick picks for the most common situations.
Porcelain
£££- Durability
- Excellent
- Slip grip
- Excellent (R11 textured grades)
- Maintenance
- Very low — no sealing
- Bedding
- Full wet bed + slurry primer
- Best for
- Modern, low-maintenance patios and shaded or wet spots where you want a non-slip, stain-proof finish.
Indian sandstone
££- Durability
- Very good
- Slip grip
- Good — natural riven grip
- Maintenance
- Medium — seal against algae and stains
- Bedding
- Full mortar bed
- Best for
- Traditional, characterful gardens on a mid budget; colours mellow and weather over time.
Limestone
££- Durability
- Good
- Slip grip
- Fair — smoother surface
- Maintenance
- Medium — seal against staining
- Bedding
- Full mortar bed
- Best for
- Contemporary, uniform-coloured patios with a smooth, fine-grained look.
Granite
£££- Durability
- Excellent
- Slip grip
- Good — flamed finish
- Maintenance
- Low — very dense and stain resistant
- Bedding
- Full mortar bed + primer
- Best for
- Heavy-use, high-end patios that must not fade, scratch or stain; the hardest natural stone.
Slate
££–£££- Durability
- Good
- Slip grip
- Good — riven texture
- Maintenance
- Medium — seal; avoid soft, flaky grades
- Bedding
- Full mortar bed
- Best for
- Dark, dramatic colour schemes and modern designs; pick a dense grade that won't delaminate.
Concrete
£- Durability
- Good
- Slip grip
- Varies by finish
- Maintenance
- Medium — seal; can fade with age
- Bedding
- Mortar or sharp-sand bed
- Best for
- Budget projects and large areas; the widest choice of finishes, including stone-effect.
Clay / block pavers
££- Durability
- Excellent
- Slip grip
- Good
- Maintenance
- Low — colour-fast clay
- Bedding
- Sharp-sand course + edge restraint
- Best for
- Paths, edges and patios that take traffic; clay keeps its colour and needs a firm edge restraint.
Cost key: £ budget · ££ mid-range · £££ premium (material only, per m²). Slip grip assumes the textured or riven grade of each material.
Best all-rounder
Porcelain — durable, non-slip and almost zero maintenance, if the budget stretches.
Best on a budget
Concrete stone-effect slabs — cheapest per m² with a huge choice of looks.
Best traditional look
Indian sandstone — natural, riven character at a mid price.
Best for heavy use
Granite or clay pavers — the hardest, most colour-fast options.
Weighing up the two most popular choices? See the in-depth porcelain vs natural stone comparison for the full pros, cons and laying differences.
Tools, materials & safety
Tools
- Spade, shovel & wheelbarrow
- Plate compactor (wacker plate)
- Pegs, string line & tape measure
- Spirit level & long straight-edge
- Rubber mallet & bolster
- Angle grinder / cut-off saw with diamond blade
- Bucket, trowel & pointing tool
- Cement mixer (for larger jobs)
Materials
- Paving slabs (+ ~10% cutting waste)
- MOT Type 1 sub-base
- Geotextile membrane (clay / soft ground)
- Sharp sand & cement, or ready-mixed bedding mortar
- Slurry primer (porcelain & natural stone)
- Jointing compound or kiln-dried sand
- Edge restraint / haunching concrete where needed
Safety first
Slabs are heavy — lift with two people and bent knees. Before digging, use a CAT scanner to check for buried pipes and cables (services should be 450 mm+ deep). Wear gloves, goggles, a dust mask and ear defenders when cutting or compacting, and wash off wet cement, which burns skin.
Planning & setting out
Mark the patio with pegs and string, then check it is truly square by measuring the diagonals — they should be equal. Dry-lay a few slabs to confirm the size works with whole slabs and a sensible joint, so you cut as little as possible. Where the patio meets the house, the critical rule is the damp-proof course.
- Decide the finished level first, then work down: it must end up at least 150 mm (two brick courses) below the damp-proof course where it meets the house.
- Set string lines to your finished slab level, then set the fall into those lines so water runs away from the wall.
- Square the area by measuring diagonals — equal diagonals mean square corners.
- Dry-lay to check the layout falls on whole slabs and even joints before you dig.
Damp-proof course (DPC) clearance
Finished paving sits at least 150 mm — two brick courses — below the DPC and falls away from the wall.
Calculating the fall (drainage)
A patio must never be dead level — it needs a gentle, even slope so rain runs off instead of puddling or pooling against the house. Use about 1:80 (12.5 mm per metre) for textured slabs and 1:60 (≈16.7 mm per metre) for smooth ones. Multiply the drop per metre by the longest run to get the total fall, then build it into your string lines and sub-base. Tap the options below to see how the gradient changes.
Drainage fall (side view)
A gentle, even slope so rainwater always runs away from the house, never toward it.
Need the exact figure? The patio fall calculator works out the total drop across your run for any ratio.
The fall, bedding and drainage rules change with the slab you choose. Pick your material below to see the recommended fall, whether you need a slurry primer, permeable alternatives and the key compliance points.
Drainage & compliance by material
Pick your slab to see the recommended fall, bedding, slurry-primer and permeable-drainage requirements.
Recommended fall
1:80 (12.5 mm/m)
Dense and non-porous — water sits on the surface, so a true, even fall is critical to avoid puddles.
Bedding
Full wet mortar bed (4:1 sharp sand:cement), 30–40 mm
Slurry primer requiredA slurry primer (SBR/cement bonding slurry) painted onto the slab back is essential — porcelain will not bond to mortar without it and slabs will lift.
Permeable options
Not permeable. Drain surface water to a channel, soakaway or permeable margin; never let it sheet toward the house.
Compliance checklist
- Finished level ≥ 150 mm below the DPC where it meets the house.
- If it drains to a new soakaway or the patio is over 5 m² of new hard surface draining to a watercourse/sewer, check SuDS / planning permeability rules.
Always fall a patio away from the house, never toward it, and keep finished paving at least 150 mm below the damp-proof course. Indicative UK guidance — check local SuDS and planning rules for large new impermeable areas.
Excavation & sub-base
The sub-base is the structural heart of the patio — almost every failure (sinking, rocking, puddles) traces back to a thin or poorly compacted base. Strip off all turf and topsoil and dig to firm subgrade, allowing for sub-base + bedding + slab + the fall.
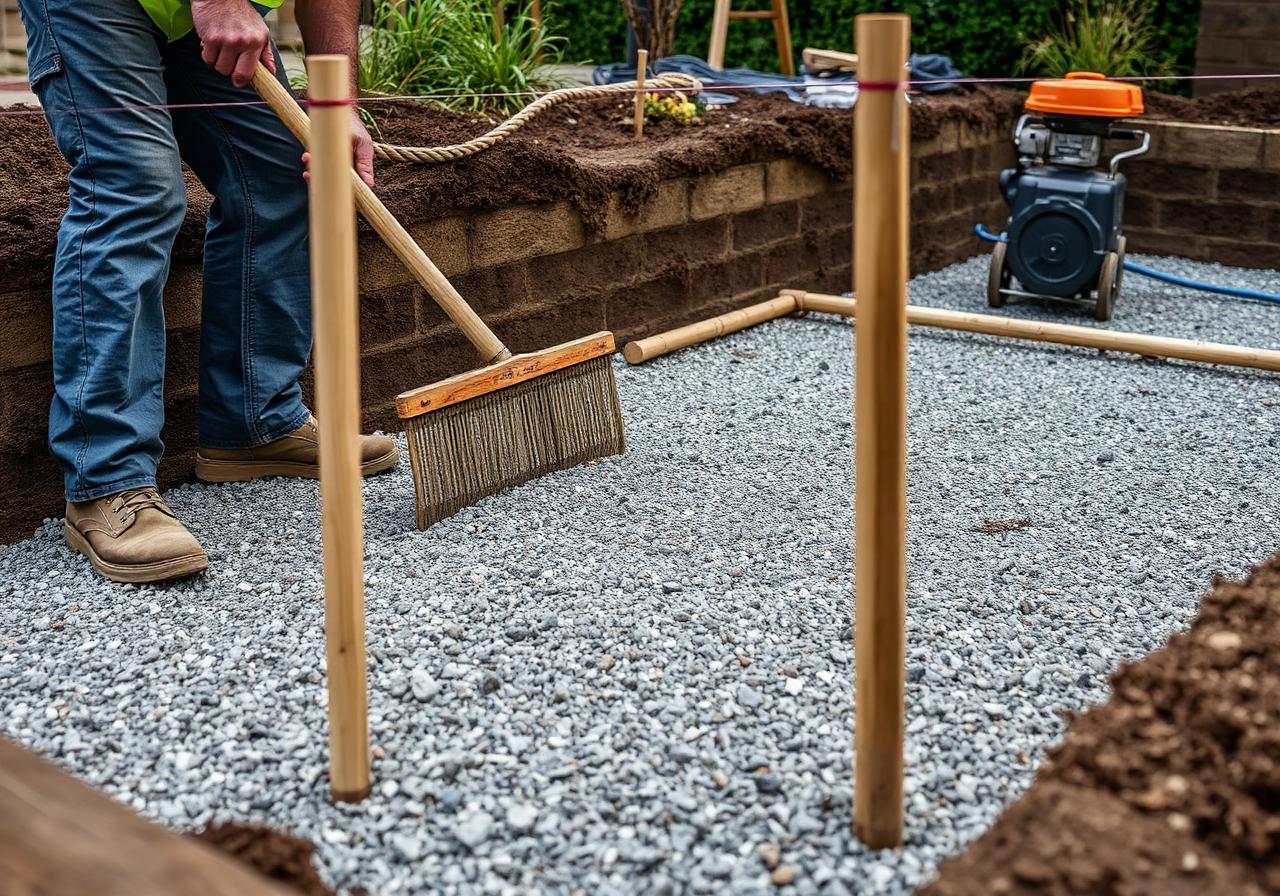
- Dig out turf, topsoil and any soft spots until you reach firm subgrade. Heel-test it — if your heel sinks in, dig deeper or compact harder.
- On clay or soft/made-up ground, lay a woven geotextile membrane over the subgrade (300 mm laps) so the stone can't punch into the clay.
- Spread MOT Type 1 and compact it in 75–100 mm layers with a plate compactor, blinding with a little sand if the surface is open.
- Aim for 100 mm of compacted sub-base on good ground, 150 mm on clay — and keep the fall consistent through the base.
Interactive cross-section
Hover or tap a layer to explore depths, fines limits and the geotextile.
MOT Type 1 sub-base
100–150 mm
SHW Clause 803 · 0/31.5 mm · fines ≤9% (UF9)
The load-bearing layer. Graded crushed stone to dust that locks together under compaction. Use Type 3 (Clause 805, fines ≤5%) where SuDS requires drainage. Compact in 75–100 mm lifts.
For full depths, Type 1 vs Type 3 permeable, compaction and tonnage, see the sub-base & MOT Type 1 specifications guide.
Bedding & laying the slabs
Lay slabs on a full bed — a continuous layer of wet mortar (or, for some concrete slabs, screeded sharp sand). The single most common mistake is the “five-spot” dab method: five blobs of mortar under each slab. It leaves hollow voids that hold water, crack slabs under load and cause rocking. A full bed supports the whole slab.
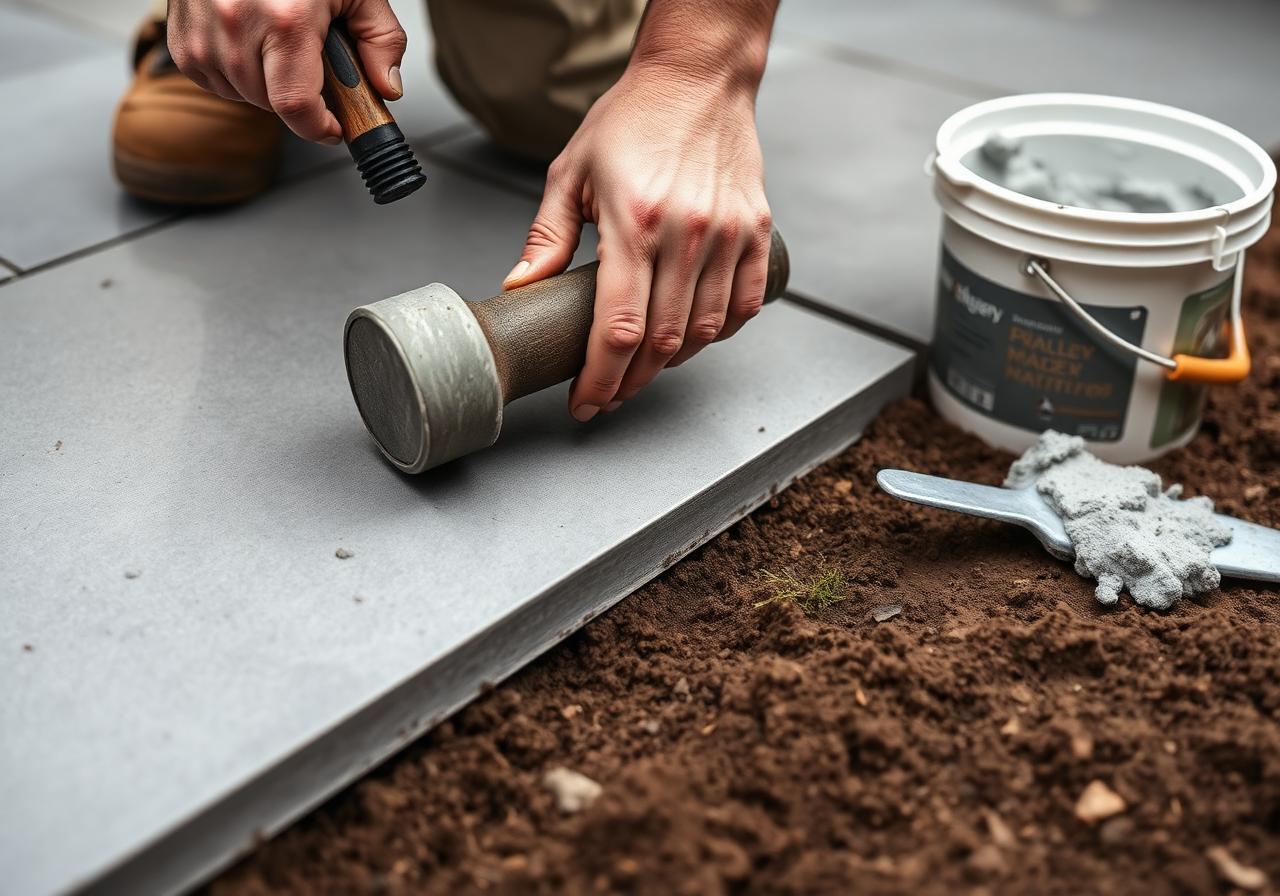
- Mix a fairly dry, workable bedding mortar (around 4:1 sharp sand to cement). Lay enough bed for one slab at a time.
- For porcelain and natural stone, brush a slurry primer onto the back of each slab so it bonds to the mortar.
- Lay the key slab first — the highest corner against the house — and tap it level to the string lines with a rubber mallet.
- Work outward from the key slab, keeping consistent joint widths with spacers and checking levels and the fall constantly.
- Cut edge and obstacle slabs with a diamond blade. Keep off the slabs for ~24 hours while the bed sets before pointing.
Bedding method — why a full bed wins
A continuous wet mortar bed supports the whole slab. Five dabs leave voids that crack slabs and trap water.
Slab size (mm)
Bedding depth
≈ 28.8 kgmortar per 600 × 600 mm slab
≈ 80 kg/m²full bed at 40 mm
≈ 0.3 m²per 25 kg bag (0 slabs)
Pointing & jointing
Pointing seals the joints so the patio locks together, sheds water and resists weeds. The right method depends on your joint width. For most modern patios a brush-in jointing compound is the easiest, most durable choice — and the only sensible option for porcelain.
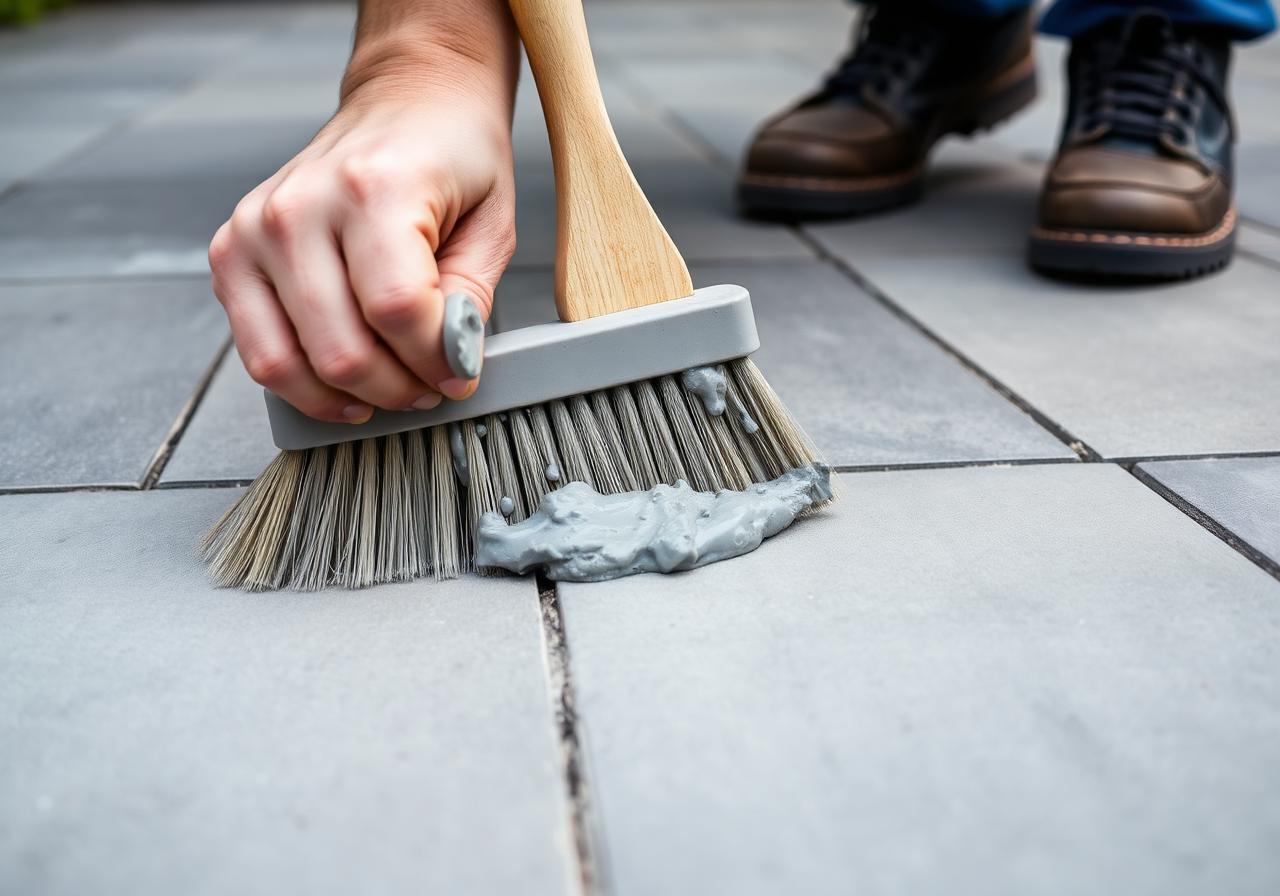
Pointing & jointing — pick by joint width
The right jointing depends on how wide your gaps are. Tap a width and slab size to see the method and quantity.
Joint width
Slab size (mm)
Brush-in jointing compound
An all-weather resin/slurry compound brushed and tooled into damp joints from 3–50 mm. The easiest, most durable DIY option and the standard for porcelain.
≈ 0.4 kgfiller per 600 × 600 mm slab
≈ 1.1 kg/m²8 mm joints
≈ 17.6 m²per 20 kg tub (49 slabs)
Aftercare, curing & sealing
- Keep off the patio for 24 hours after laying and ideally 24–48 hours after pointing before furniture or heavy use.
- Cover with sheeting if rain or frost is forecast while the mortar and joints cure.
- Seal natural stone and concrete (not usually porcelain) once fully dry to resist staining and algae.
- Keep it clean with a stiff brush and occasional wash; avoid pressure-washing fresh joints.
How much does it cost to lay a patio?
Cost depends mostly on the slab you choose, the size and shape of the patio, and how much groundwork is involved. As a guide, DIY material costs run from about £40 per m² for plain concrete to £95 per m² for premium porcelain; having it supplied and laid by a professional roughly doubles that. Labour only (you supply the materials) is typically £40–£70 per m², or £150–£250 a day for a two-person team.
Concrete
- DIY materials
- £40–£60/m²
- Supplied & laid
- £80–£110/m²
Sandstone
- DIY materials
- £55–£80/m²
- Supplied & laid
- £100–£135/m²
Limestone
- DIY materials
- £55–£85/m²
- Supplied & laid
- £100–£140/m²
Porcelain
- DIY materials
- £60–£95/m²
- Supplied & laid
- £110–£160/m²
What pushes the price up: poor access (slabs and spoil barrowed a long way), heavy clay or soft ground needing a deeper sub-base and geotextile, removing an old patio, and muck-away (skip hire and tip fees for the dug-out spoil). Run the planner above for your area and quantities, then use the patio build-up calculator to price materials precisely before you buy or compare quotes.
Patio variations & common questions
Laying a patio without cement
Some concrete and natural-stone slabs can be laid on a screeded sharp-sand bed over a compacted MOT Type 1 sub-base, then jointed with kiln-dried sand or a brush-in compound. It's faster and cheaper, but slabs are more likely to settle or rock and it isn't suitable for porcelain. For a patio that lasts, a full mortar bed is the safer route.
Laying a patio on grass
Never lay slabs straight onto grass — the turf rots and compresses and the patio sinks unevenly. Strip the turf, dig out the topsoil to firm subgrade, then build a proper compacted sub-base and bedding layer. The dig is the job; the slabs are the easy part.
Laying a patio on soil
Topsoil is soft and full of organic matter, so it must come out. Excavate to firm subgrade, add a geotextile if the soil is clay, then compact a 100–150 mm MOT Type 1 sub-base before bedding and laying.
Laying a patio on sand
A screeded sharp-sand laying course (30–50 mm) over a compacted sub-base works for some concrete slabs and block paving — but the sand must sit on MOT Type 1, never on soil, and it shouldn't be used for porcelain. Use sharp sand, never soft building sand.
Laying a patio on concrete
An existing concrete slab can be a base if it's sound, falls away from the house and drains. Lay porcelain or stone on a full bonded mortar bed (with primer); a thin bed adhesive can work for porcelain on a flat, clean slab. Check the finished level still clears the DPC by 150 mm.
Porcelain patios
Porcelain is dense, frost-proof and low maintenance but unforgiving to lay: it must go on a full wet mortar bed with a slurry primer brushed onto the back of every slab, jointed with a brush-in compound, and cut with a diamond blade. It rewards careful setting out because mistakes are hard to disguise.
Raised patios
A raised patio needs a retaining structure (block or brick walls on a concrete footing), drainage behind the wall, and a hardcore-filled, compacted build-up — not just deep soil. They're a bigger structural job; if it retains significant height near a boundary or affects drainage, check whether you need building regulations or planning input.
Brick and block paving patios
Clay pavers and concrete blocks are laid a little differently from slabs: set them on a 30–50 mm screeded sharp-sand laying course over a compacted MOT Type 1 sub-base, butted tight, then vibrate them in and brush kiln-dried sand into the joints. A solid edge restraint (haunched kerb or edging) is essential to stop the blocks creeping. See the block paving calculator for quantities and pattern options.
Common mistakes & how to avoid them
Spot/dab (five-spot) bedding
Why it fails: Five blobs of mortar leave hollow voids that hold water and crack slabs under load.
How to avoid it: Always lay on a full, continuous bed so the whole slab is supported.
Skimping on the sub-base
Why it fails: A thin or poorly compacted base sinks and rocks within a season.
How to avoid it: Compact 100–150 mm of MOT Type 1 in 75–100 mm layers; add a geotextile on clay.
No fall, or falling toward the house
Why it fails: Flat patios puddle; a fall toward the wall pushes water at the building and over the DPC.
How to avoid it: Build in a 1:60–1:80 fall away from the house into your string lines and sub-base.
Bridging the damp-proof course
Why it fails: Paving above or within 150 mm of the DPC lets damp track into the masonry.
How to avoid it: Keep the finished level at least two brick courses below the DPC, with a channel drain if needed.
Partner links for the slabs, MOT Type 1, bedding, jointing and tools used in this guide — we may earn a small commission if you buy, at no cost to you.
- Porcelain paving — 600×600 mmTravis Perkins
Vitrified porcelain, click-and-collect from local branch.
- Indian sandstone — mixed-size patio packsGardenstone
Calibrated 22 mm, full mortar-bed ready.
- Standard 200×100 mm block pavingPaving & Building Supplies
Pallets of 9.9 m² block paving for driveways and paths.
- MOT Type 1 sub-base — bulk bagsBuilding Materials Nationwide
Crushed limestone MOT sub-base in 800 kg bulk bags, delivered to kerbside.
- Sharp sand — bulk bagsBuilding Materials Nationwide
Screed/bedding sand for slab beds and block-paving courses.
- ACO channel drainageDrainage Superstore
Polymer channel drains and gratings for patios and drives.
- Natural limestone pavingGardenstone
Calibrated UK/European limestone, mortar-bed ready.
- Granite paving slabsGardenstone
Dense calibrated granite — heavy-duty patios and driveways.
- Slate pavingGardenstone
Riven Welsh/Brazilian slate, calibrated thickness.
- Clay pavers — 200×100 mmTravis Perkins
Kiln-fired clay pavers, colour-fast for driveways and paths.
- Granite setts — 100×100 mmPaving & Building Supplies
Riven granite setts, mortar-bedded for driveways and edging.
- Grass-grid cellular paversTravis Perkins
Recycled-plastic cellular grids — grass or gravel fill.